Habitat TV
Featured Video
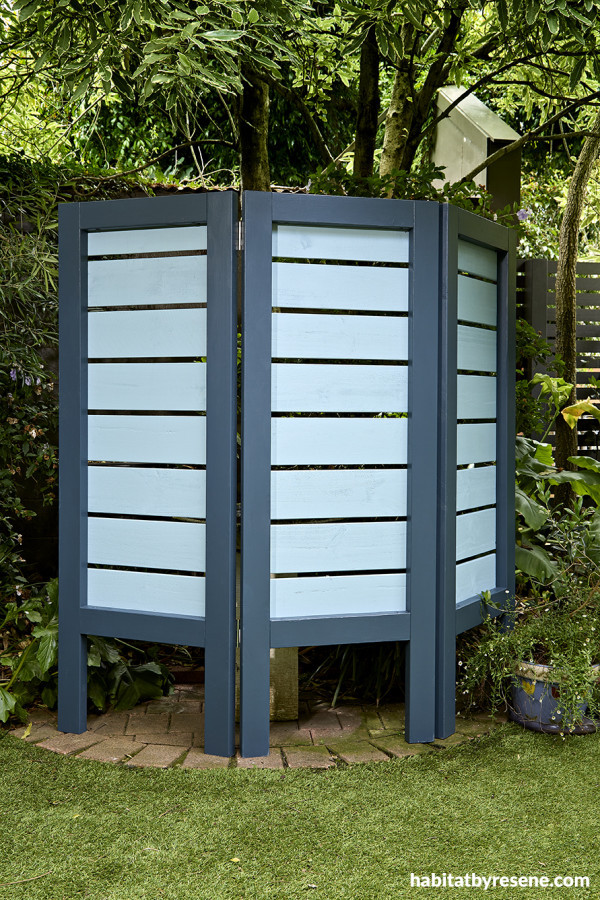
DIY hinged screen
duration:
This sturdy screen, built from six timber planks (2400mm length x 90mm width x 45mm depth) and 8 fence palings (1800mm length x 150mm width x 19mm depth), is a striking garden feature painted in Resene Bali Hai and Resene Coast.
Hinges allow the screen to bend around objects, making it ideal for creating garden rooms or entertaining zones. It can also wrap around objects you’d like to hide.
You will need:
- 6 timber planks (2400mm length x 90mm width x 45mm depth)
- 8 fence palings (1800mm length x 150mm width x 19mm depth
- Screws
- Your choice of Resene colours – we used Resene Bali Hai and Resene Coast
- Nine hinges
Cut plan:
- Vertical sides: cut six planks of 2400mm long x 90mm wide x 45mm deep timber into six lengths of 1800mm. These will make the vertical sides of the screen. Make sure you keep the offcuts.
- Horizontal sides: from each of the offcuts above, cut a 480mm length. You will be left with six 120mm offcuts (not used in this project).
- Privacy slats: using the fence palings, cut each 1800mm length fence paling into three lengths of 600mm (final measurement will be 600mm x 150mm x 19mm).
To create:
Step 1 Cut all the timber planks and fence palings to size, sand and wipe clean with a dry cloth.
Step 2 Paint all frame pieces in one colour (we used Resene Coast) and all privacy slat pieces in a second colour (we used Resene Bali Hai). Or if you prefer paint all the same colour or vary the colours on the slats for a rainbow effect. Use two coats and allow dry time between coats and after the last coat is applied.
For an alternative natural look, instead of painting stain using two coats of Resene Waterborne Woodsman.
Step 3 To build each frame, arrange the pieces together laying them in a rectangle with the top horizontal pieces (2) for each frame flush inside the vertical side plank pieces (1). Place two offcut pieces of timber either side of the wood and clamp together to hold in place. Drill two pilot holes diagonally so it goes into both pieces of timber and then screw together. Repeat on the other side.
Step 4 Secure the lower horizontal side 360mm from the end of the vertical side. Place the first privacy slat (3) 50mm from the top and nail in place. Measure 20mm between each slat and place remaining slats, working your way down the frame.
Step 5 Line up your three finished frames on the ground. Mark the position of the hinge and screw into place.

Position your new hinged screen in your garden and enjoy fresh colour year round.
Category: create with paint
Published on Feb 27, 2021
Colours
Latest Habitat TV Videos:

Published 1 year 3 months ago
Say goodbye to the morning scramble for keys, coats and sunglasses and hello to this…

Published 1 year 3 months ago
Entryways are usually the first impression visitors have of your home interior. This DIY organiser…


