Habitat TV
Featured Video
How to make giant flowers
duration:
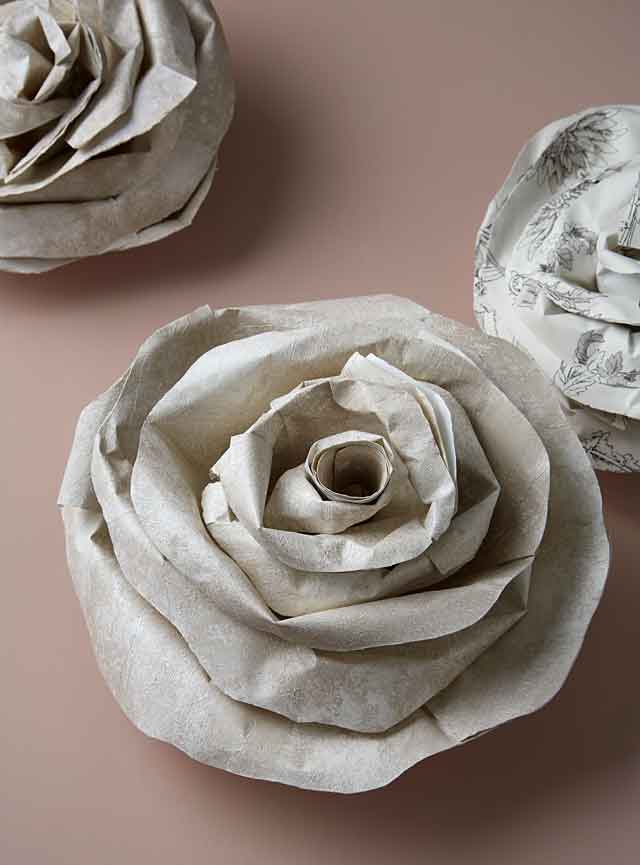
Add vintage flair to weddings, baby showers or other big celebrations with these handmade oversized flowers – made using wallpaper from the Resene Wallpaper Collection.
You will need:
- Wallpaper rolls – we used designs TP1011 and GP5945 from the Resene Wallpaper Collection, available from Resene ColorShops
- A2 cardboard – you’ll need four pieces per flower
- Ruler, level and pencil
- Scalpel and cutting mat
- Wallpaper glue
- Scissors
- Resene testpot brush
To make one flower:
Step one. Glue the wallpaper onto four A2 cardboard pieces. Leave to dry.
Step three. Trim the pieces into perfect squares.
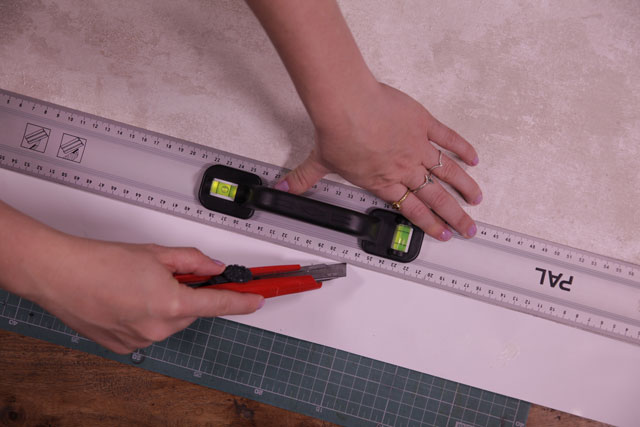
Step four. Fold each square in half, from corner to corner, to form a triangle.
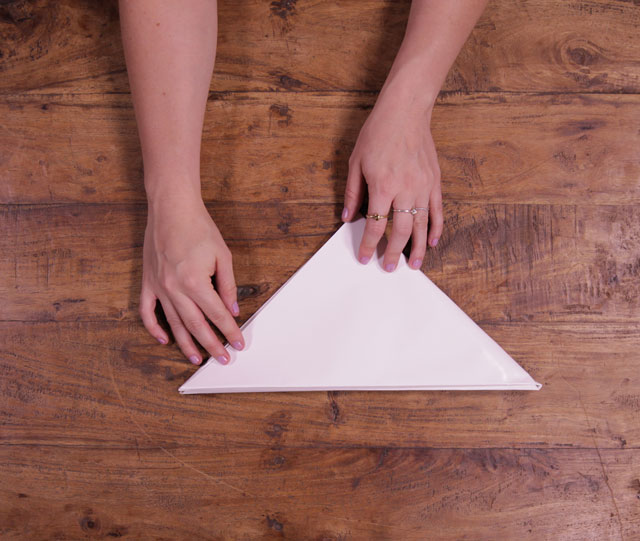
Step five. Repeat for each piece to form another triangle, and then repeat again.
Step six. On each piece, draw a petal at the top, starting from the folded edge and working across. Cut and discard the top piece for each.
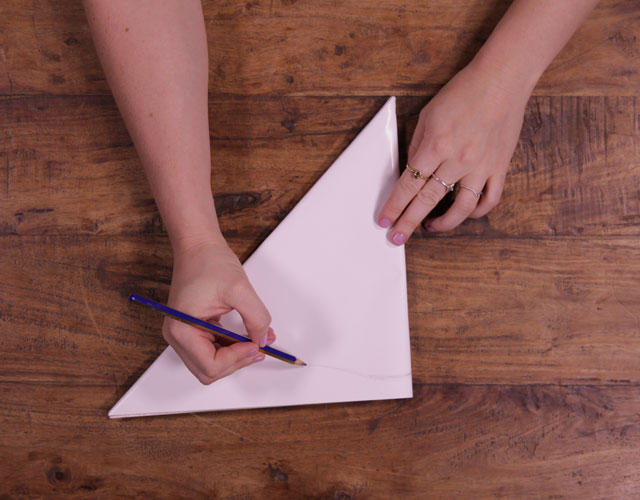
Step seven. On each piece, snip a small hole at the bottom.
Step eight. Unfold each piece – they’ll now each have eight petals.
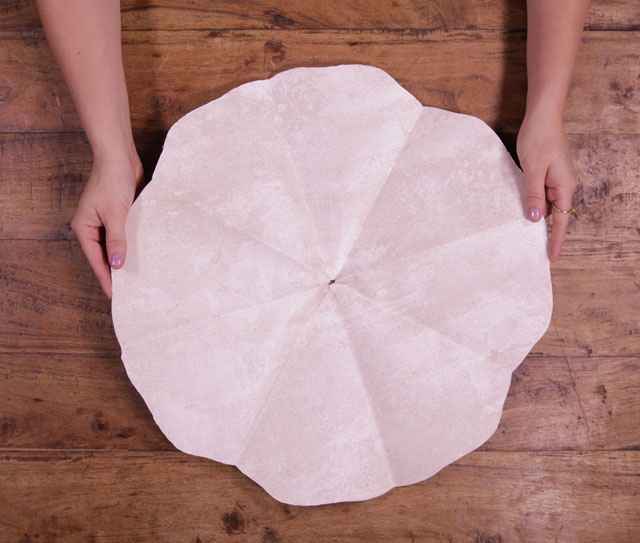
Step nine. For the first piece, cut out one petal. Second piece, cut out two petals. Third piece, cut out three petals. Fourth piece, cut in half. Don’t throw away the excess petals.
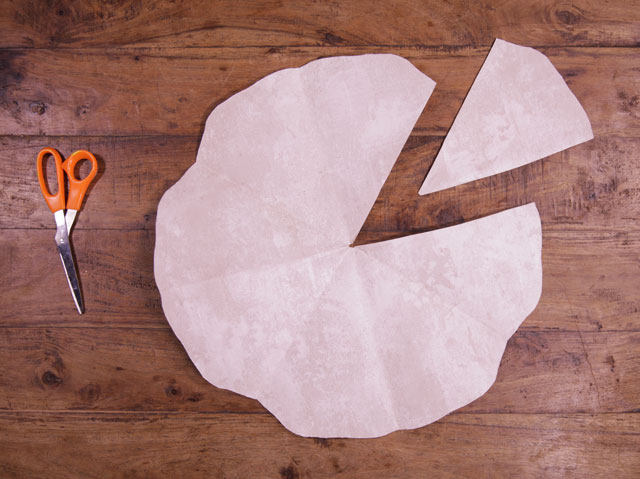
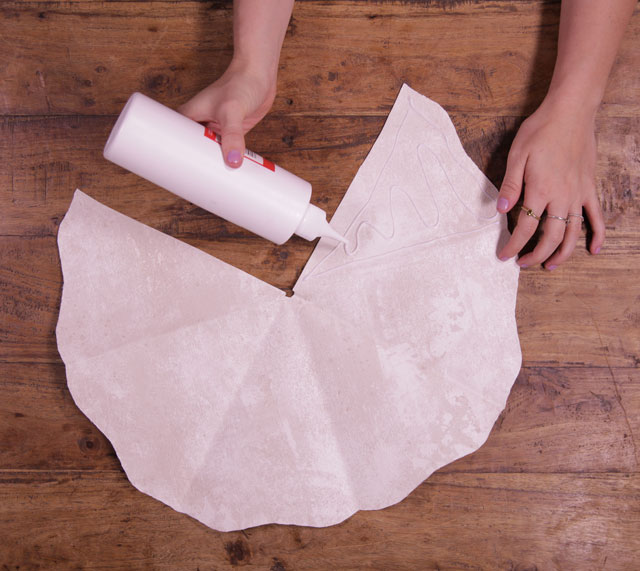
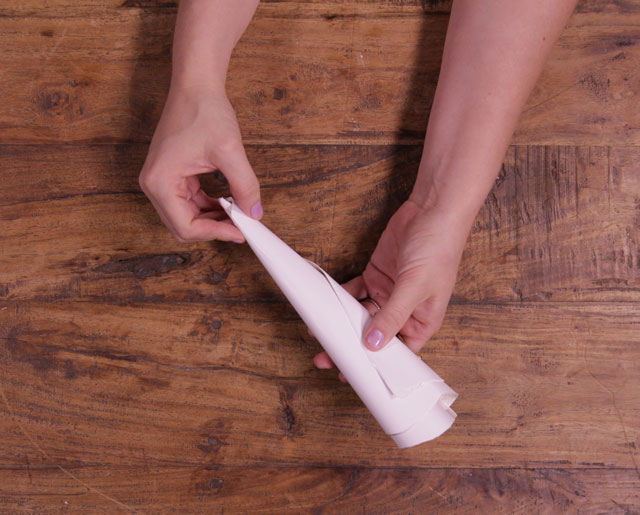
Step 10. With the first piece, glue one of the outside petals and bring the other petal together to form a cone. Repeat for the other three pieces.
Step 11. Create smaller cones with the excess petals, creating a small decorative cone for the top of the flower.
Step 12. Shape the petals using a Resene testpot brush or similar, bending and rolling the tops of the petals to give it an organic blooming effect.
Step 13. Use the biggest cone as the base and glue the cones within, starting from the next biggest to smallest. Leave to dry.
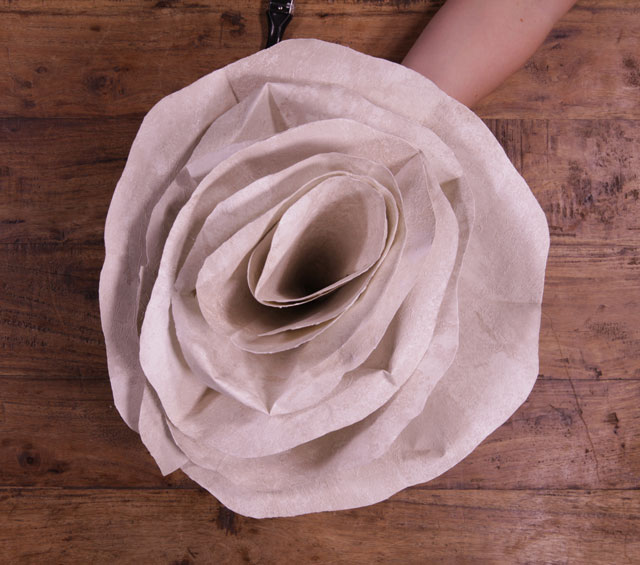
Top tip: To make it sit flat, cut a bigger whole at the bottom of each cone and tuck it up and inside the flower. This will make it easier to stack as well. Otherwise keep it pointy at the bottom and tie it up like a bouquet, ready to hang prettily on the wall.
Stylist Leigh Stockton
Photographer Bryce Carleton
Category: ways with wallpaper
Published on Oct 11, 2018
Latest Habitat TV Videos:

Published 1 year 3 months ago
Say goodbye to the morning scramble for keys, coats and sunglasses and hello to this…

Published 1 year 3 months ago
Entryways are usually the first impression visitors have of your home interior. This DIY organiser…


