Four simple Christmas projects to make your home extra festive
We know not everybody wants to decorate their home from floor to ceiling for Christmas, but there are many ways you can add some magical touches to your entryway, mantlepiece or Christmas tree to give your home that fantastically festive feel. Here are four easy projects you can try – and we know the kids will love getting involved in these too!
Timber tidings
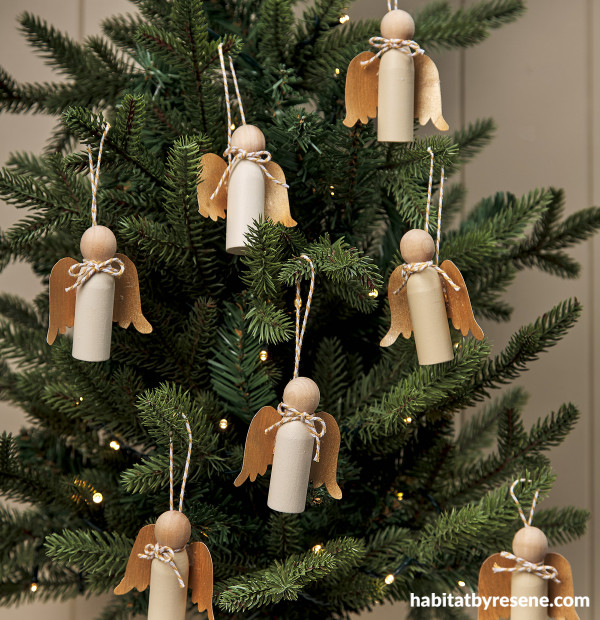
Angels have long been associated with Christmas but are often hard to find as tree decorations. These wooden cuties are so easy to make and look even better than store bought ones. All you will need is some twine, cardboard, wooden people bases and your favourite festive Resenetestpots.
You will need:
- Wooden people bases (ours were from Look Sharp)
- Pencil
- Angel wing template – you can find one online or draw your own
- Paintbrush
- A4 sheet of cardboard
- Twine
- Scissors
- Clear craft glue
- Resene testpot paints in your chosen colours. We used Resene Canterbury Clay, Resene Half Canterbury Clay, Resene Quarter Canterbury Clay and Resene Gold Dust
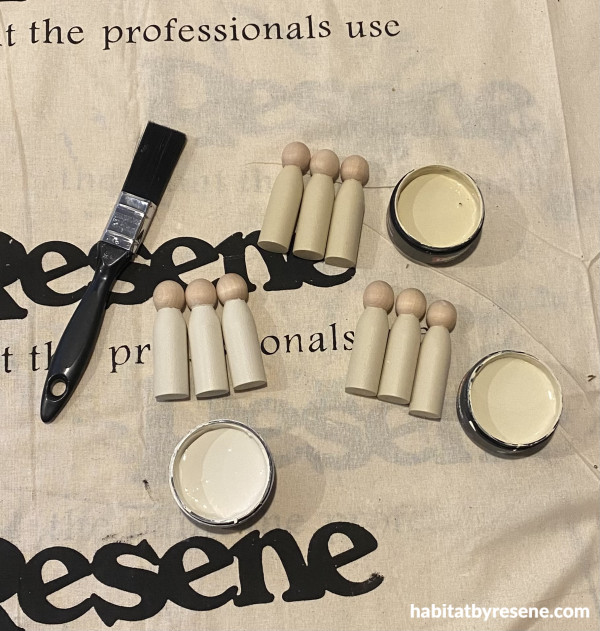
Step 1: Paint the body of your angels in your chosen testpot colour. We painted ours in Resene Canterbury Clay, Resene Half Canterbury Clay and Resene Quarter Canterbury Clay.
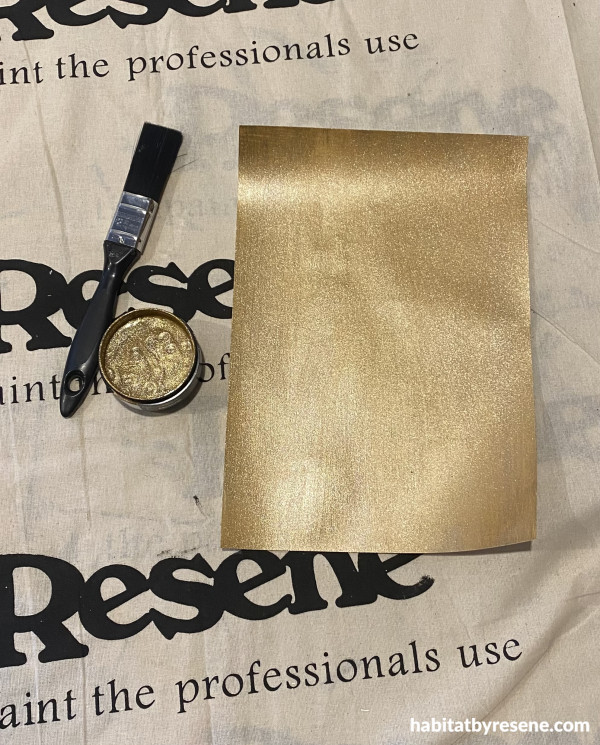
Step 2: Paint your piece of cardboard both sides in another of your chosen colours. Allow one side to dry before painting the other side. We used Resene Gold Dust.
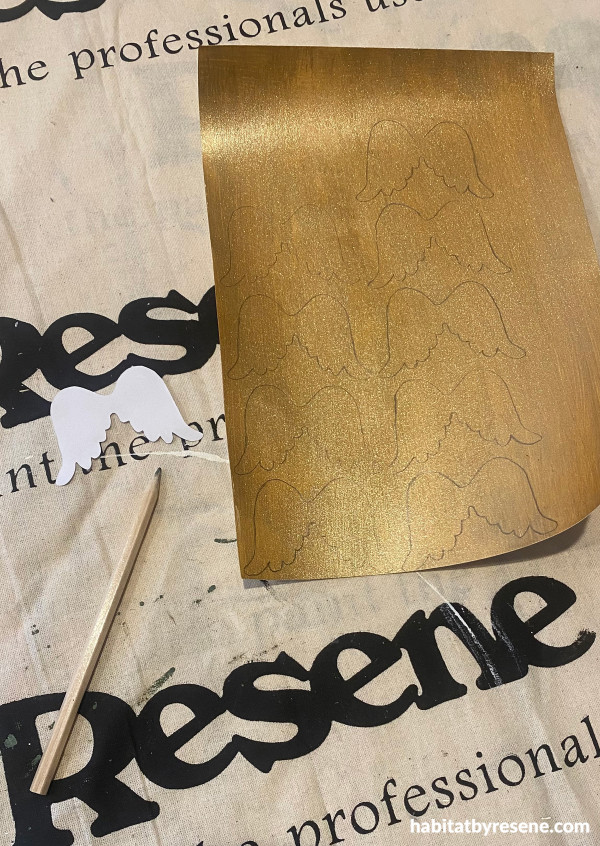
Step 3: Using your angel wing template, draw around the shape onto the painted card.
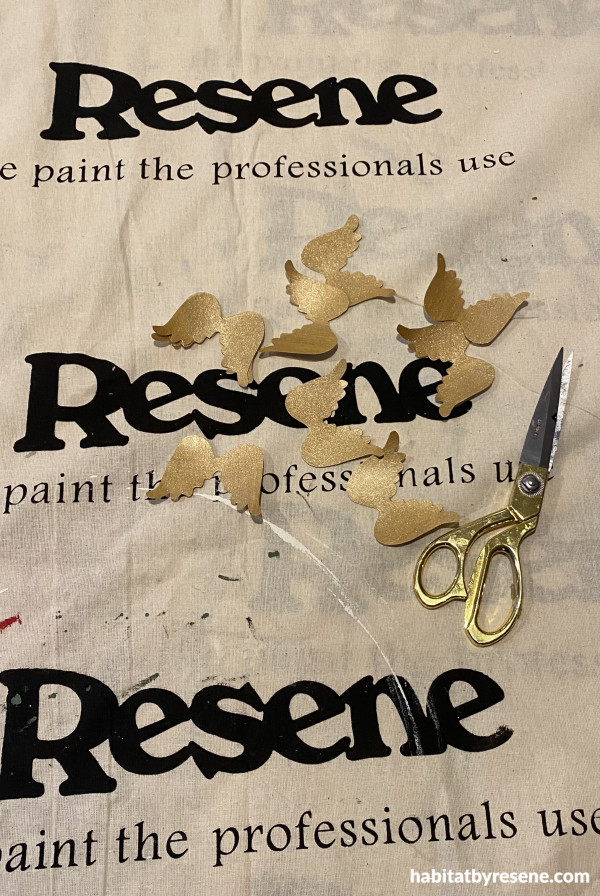
Step 4: Cut out the painted angel wings ready to glue on.
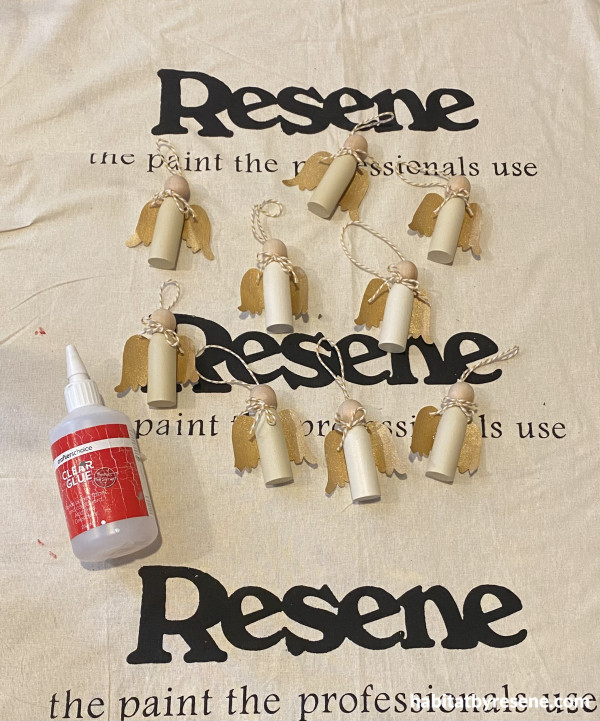
Step 5: Glue on the angel wings and a loop of twine to the back to the angel body using clear craft glue.

Step 6: Add a small piece of twine in a bow around the neck of the angel and hang your decorations on the tree.
Wall painted in Resene Half Doeskin.
Holly jolly holder
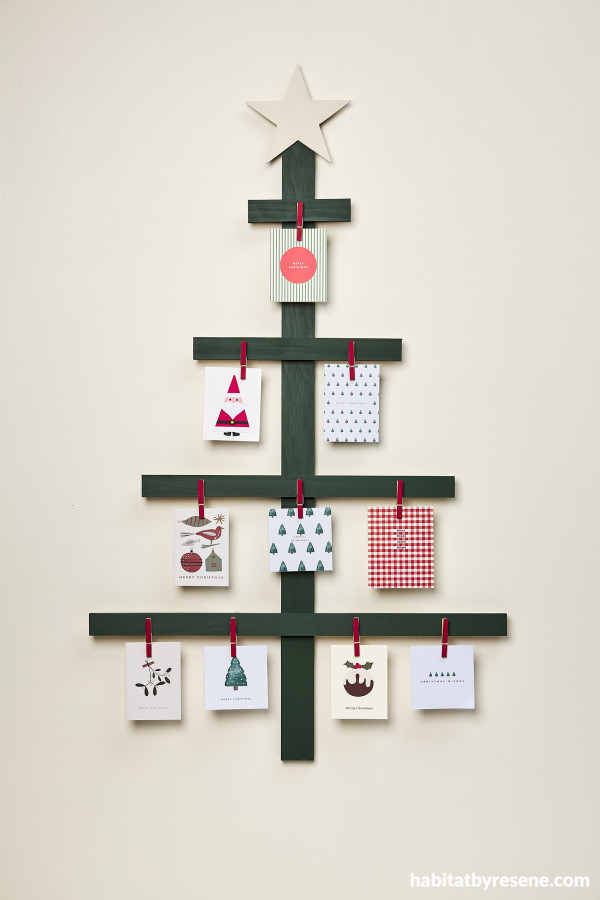
Looking for a fun and creative way to display your Christmas cards?This wooden branch tree holder will do the trick. Made from inexpensive or recycled cuts of wood and wooden pegs, this project can be whipped up for under $25. You could even use this to display the kids’ Christmas artwork or your favourite family photos.
You will need:
- Wooden pegs
- Wooden star (ours was 20cm tall)
- 1x piece of wood 1.2 m long, 6.5cm wide and 1.8cm thick
- 1x piece of wood 80cm long, 4cm wide and 1.8cm thick
- 1x piece of wood 60cm long, 4cm wide and 1.8cm thick
- 1x piece of wood 40cm long, 4cm wide and 1.8cm thick
- 1x piece of wood 20cm long, 4cm wide and 1.8cm thick
- Wood PVA glue
- Paintbrush
- Resene testpot paints in your chosen colours. We used Resene Timber Green, Resene Red Berry and Resene Spanish White
Top tip: If you have access to an old pallet, you could dismantle that, clean it with Resene Timber and Deck Wash and use it for your timber.
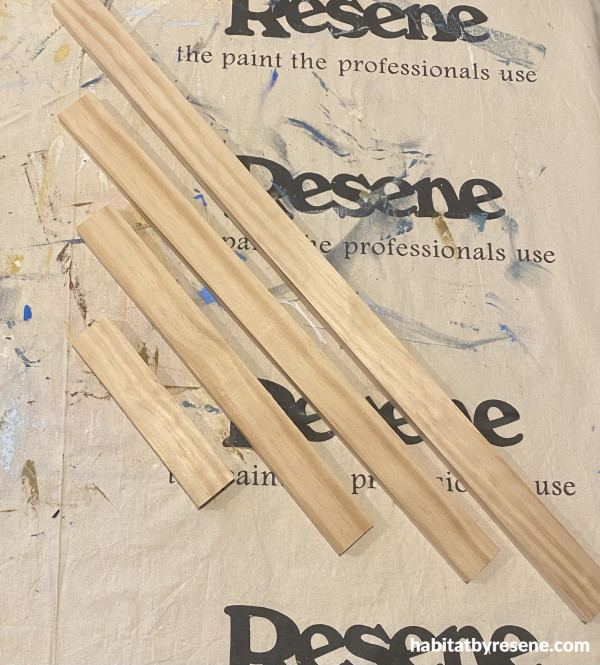
Step 1: Get your wood cut at the store or cut on your drop saw. You will need one piece of wood for the stalk of the tree which is 1.2 metres in length, 6.5cm wide and 1.8cm thick. You will also need one piece of wood each which are 80cm, 60cm, 40cm and 20cm in length and 4cm wide and 1.8cm thick. These pieces make the branches of the tree.
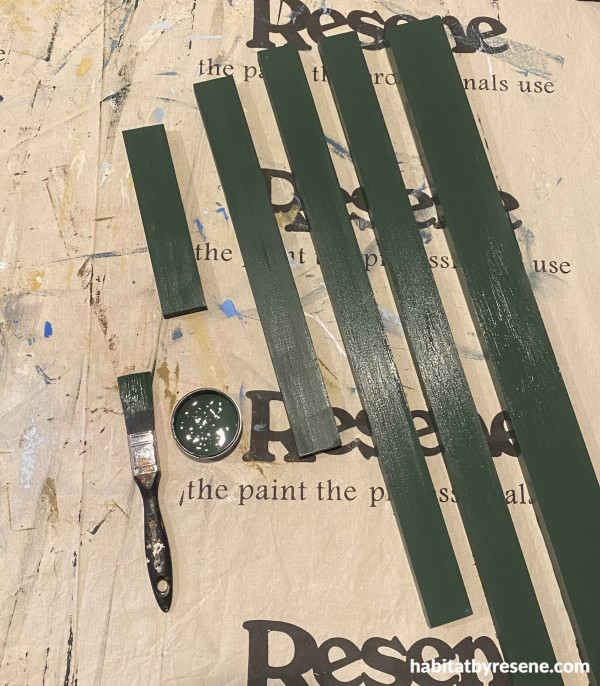
Step 2: Paint your pieces of wood in two coats of your chosen colour allowing dry time between coats. We painted ours in Resene Timber Green.
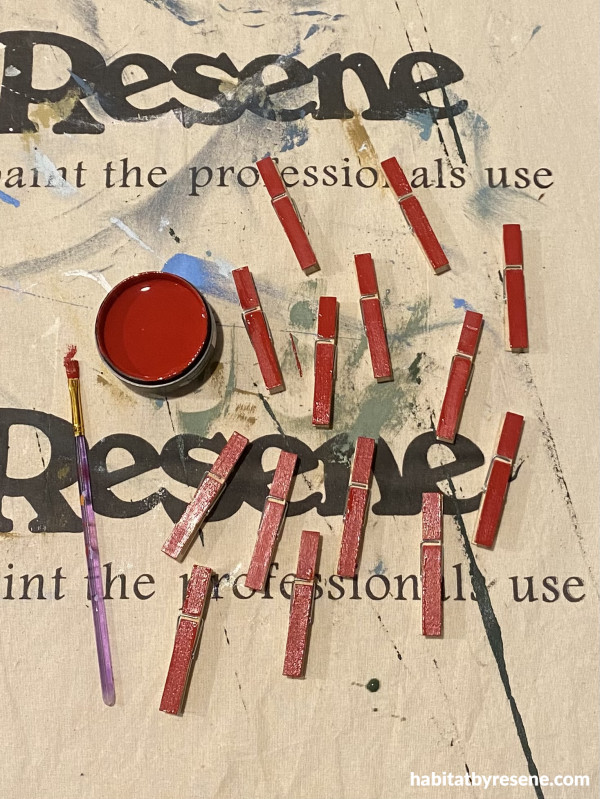
Step 3: Paint the pegs in another of your chosen colours. We used Resene Red Berry to create a classic Christmas combo of green and red.
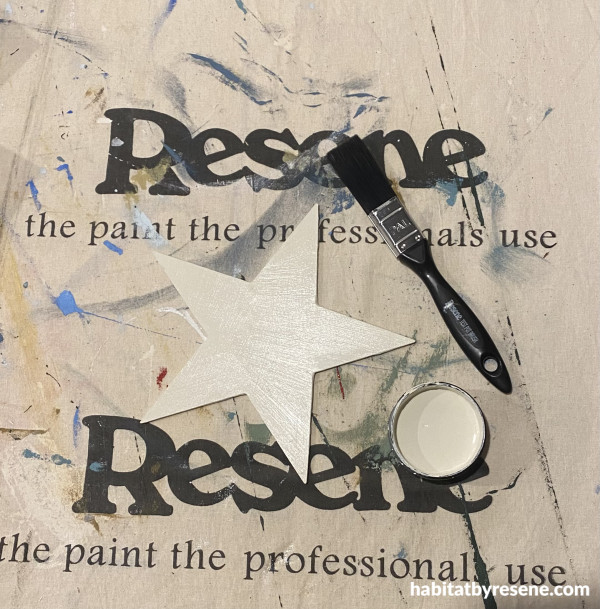
Step 4: Paint the wooden star in your chosen colour. We used Resene Spanish White, but you could go for a shimmering hue like Resene Gold Dust or Resene Goldmine.
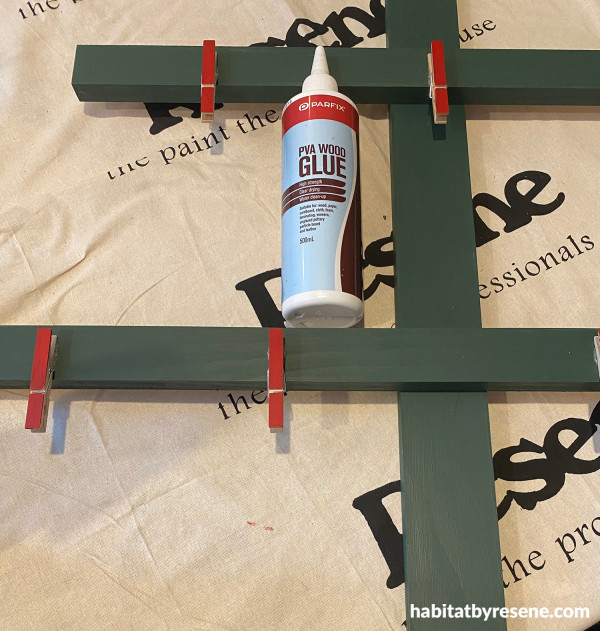
Step 5: Lay out the stalk piece of wood upside down on a table or the floor (painted side down) then lay the other wood pieces in order from the smallest at top to the largest at the bottom leaving a space for cards in between each one. Glue these pieces including the wooden star to the main stalk piece of wood and leave to dry. If you have screws, you could use these instead of gluing.

Step 6: Glue the pegs to the wood branches using wood glue and clip Christmas cards onto the holder as they arrive. Or use to display fun festive family photos.
Wall painted in Resene Pearl Lusta.
Fir sure festive
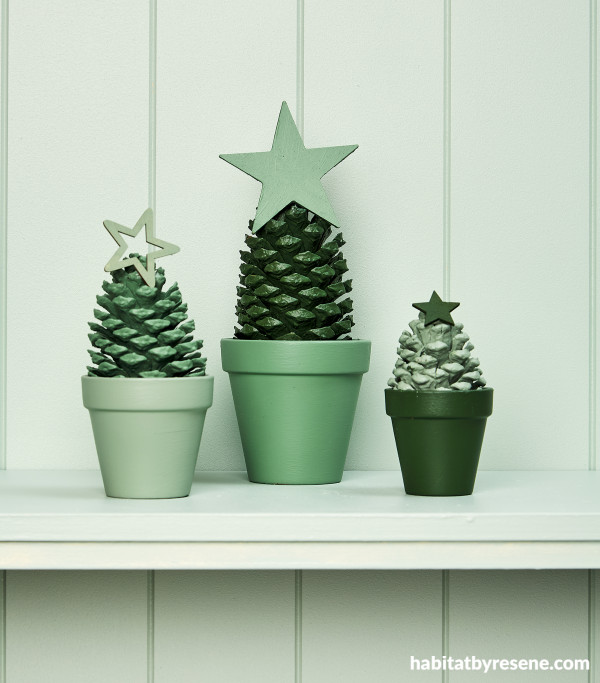
If you have some left-over pinecones lying around your property or left over from winter fires, then this cute project is a great way to put them to good use. These pinecone mini Christmas trees are the perfect festive touch to go on your windowsill, mantel or console table.
You will need:
- 3x different size pinecones
- 3 different size terracotta pots (ours were 10cm, 8cm and 6cm wide)
- 3 different size stars
- Paintbrush
- Clear craft glue
- Resene testpots in your favourite festive hues. We used Resene Forest Green, Resene Spanish Green and Resene Gondwana

Step 1: Paint each of your terracotta pots in your chosen colours. We painted the small pot in Resene Forest Green, the medium pot in Resene Spanish Green and the large pot in Resene Gondwana.
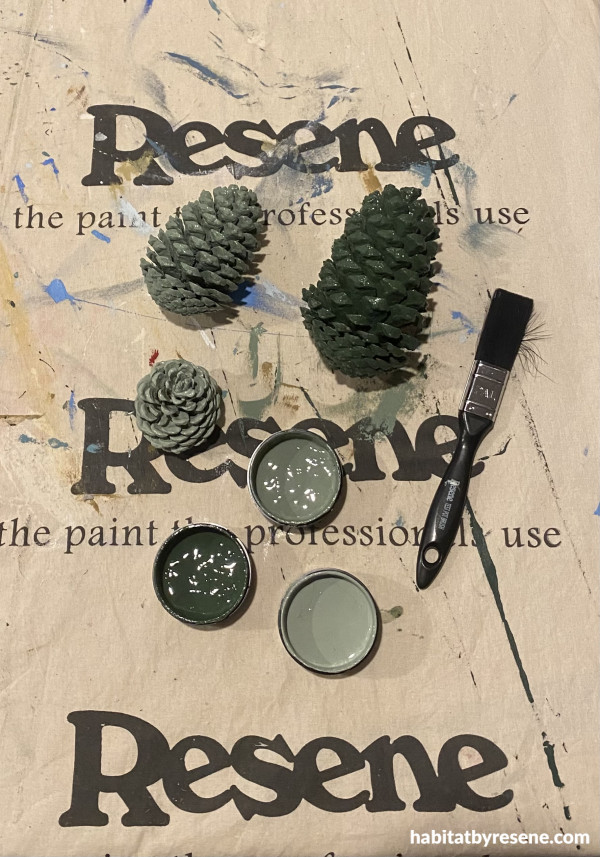
Step 2: Paint each of your pinecones in more of your chosen colours. We painted the large one in Resene Forest Green, the medium one in Resene Gondwana and the small pinecone in Resene Spanish Green.
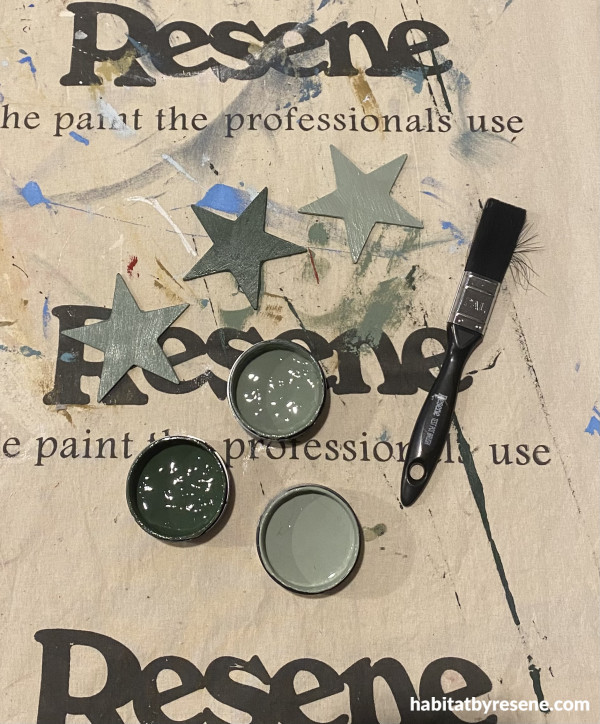
Step 3: We painted the stars in the same colours to match the pots so the large star in Resene Gondwana, the medium star in Resene Spanish Green and the small star in Resene Forest Green – but you can get creative and use different shades if you like!

Step 4: Glue the stars to the pinecones and pop in the pots and display in a room that needs a little festive touch.
Top tip: If you’re keen on a little more bling in your Christmas, use Resene FX Metallic paint to paint the tips of your pinecone or to finish the star on the top.
Wall and table painted in Resene Rainee.
Hooked on the holidays
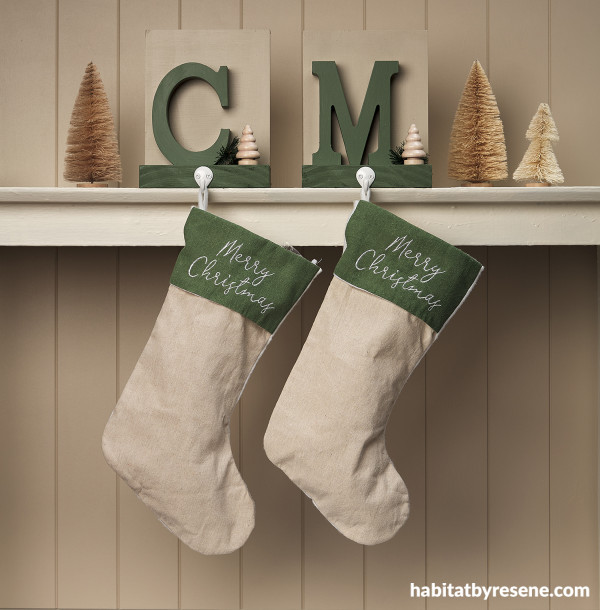
Nice stocking holders can be hard to find, and many of use end up using a hook or nail that damages the wall or console. However, they are an easy thing to make and can also be customised to suit your décor or colour scheme. Here we have made two using wooden letters to represent the stocking holders’ names. These are easy to make and a fraction of the cost of store-bought ones!
You will need:
- 2 letters for the names of the people whose stockings they are
- A piece of wood 3cm thick, 18cm wide and 90cm in length
- 2 mini hooks
- 2 mini wooden trees
- Faux pine or other decorative elements you want to include on your holder
- Paintbrush
- Drop saw
- Pencil
- Ruler
- Resene Colorwood Whitewash
- Resene testpots in your chosen shades. We used Resene Tom Thumb and Resene Double Sisal
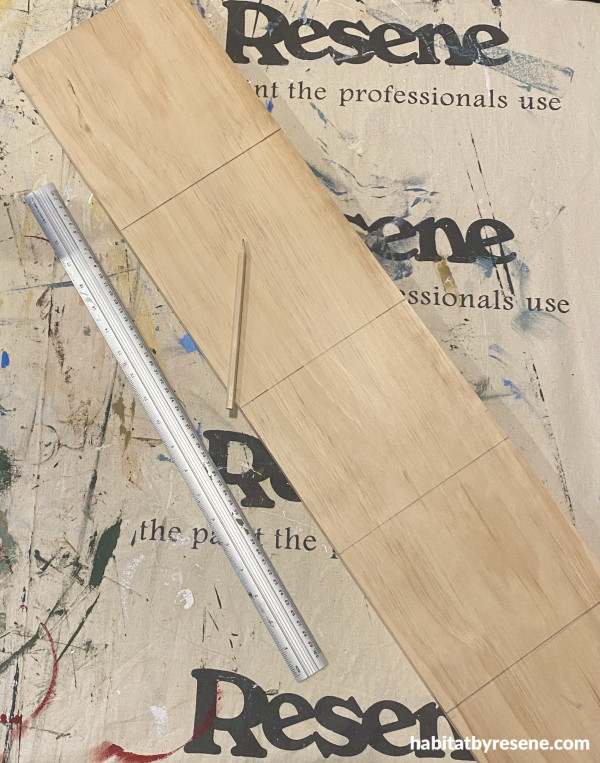
Step 1: Measure and mark your wood with a pencil so you have two pieces of wood which are 18cm wide 3cm thick and 20cm in length, and two pieces of wood which are 18cm wide, 3cm thick and 15cm in length.
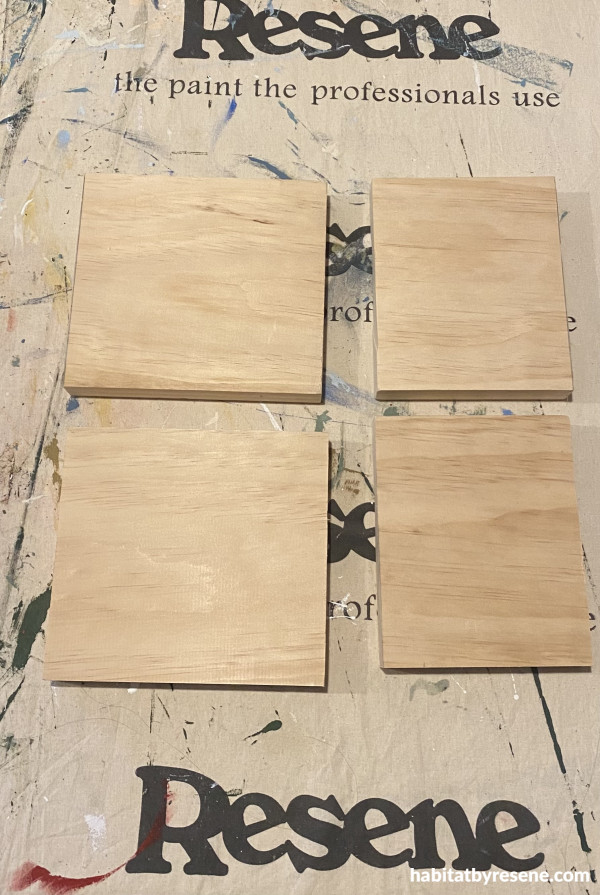
Step 2: Cut your pieces of wood with a drop saw. Use sandpaper to take off any rough edges. Wipe off the sanding dust.
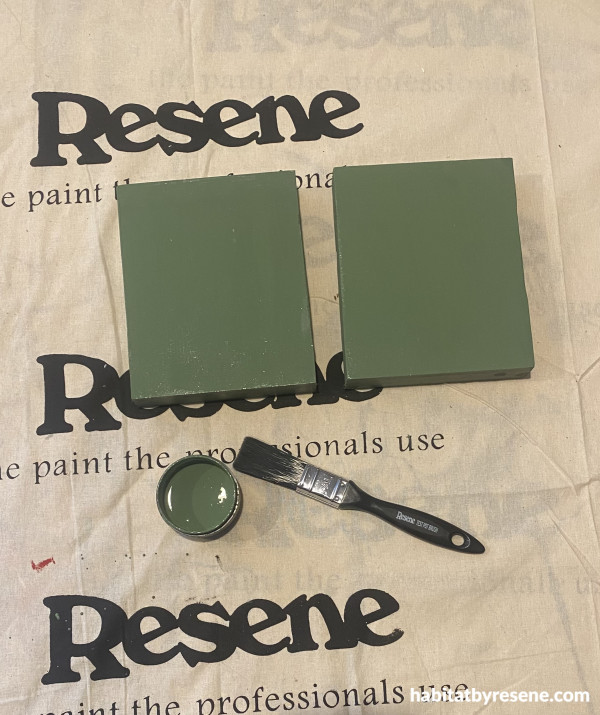
Step 3: Paint the two smaller pieces of wood in two coats of your chosen colour allowing dry time between coats. We used Resene Tom Thumb.

Step 4: Paint your letters in two coats of your choice of colour allowing dry time between coats. We usedResene Tom Thumb.
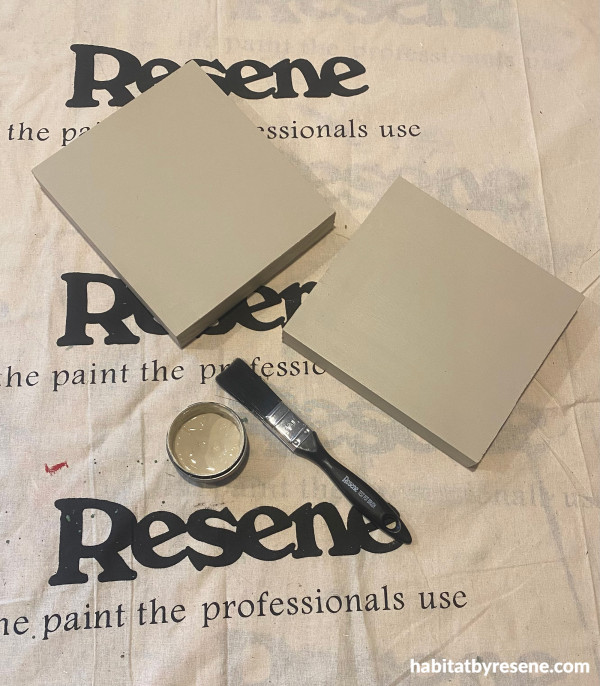
Step 5: Paint the two larger pieces of wood in two coats of your choice of colour allowing dry time between coats. We used Resene Double Sisal.
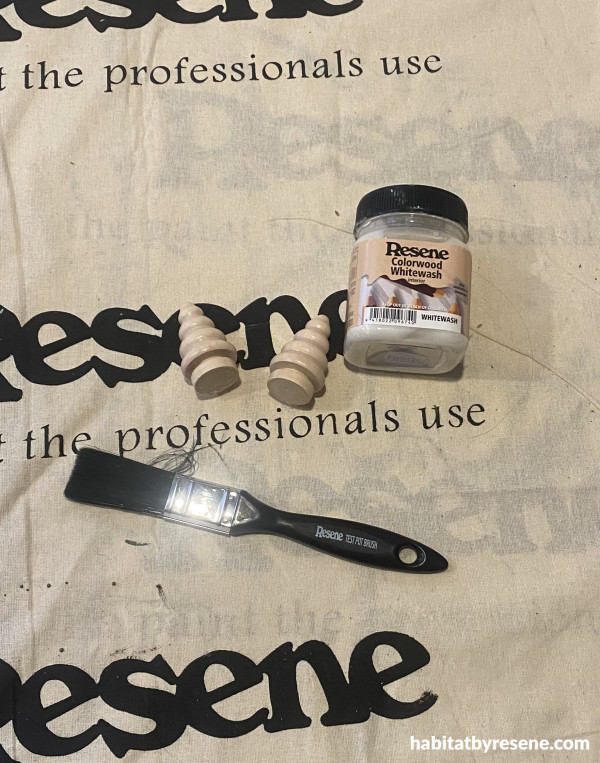
Step 6: Paint the small wooden Christmas trees in two coats of a paint colour or ReseneColorwood stain or wash of your choice allowing dry time between coats. We used ReseneColorwood Whitewash.
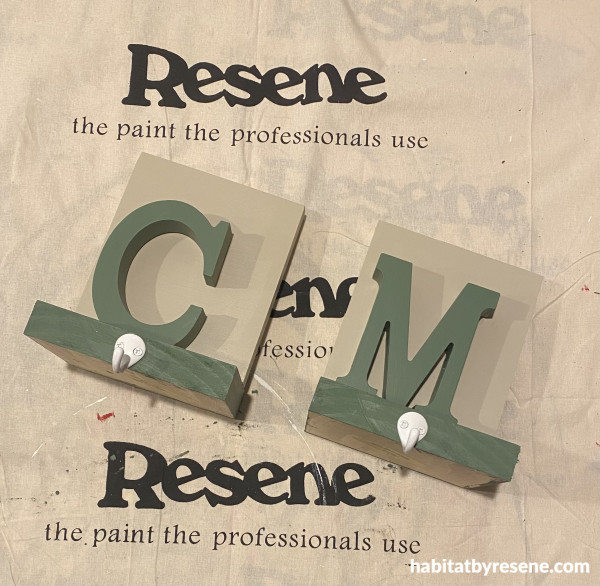
Step 7: Glue your wood pieces together and then glue the letters onto the base. Then add the hooks.

Step 8: Glue your wooden mini trees and your faux pine to the stocking holders and add on mantel and hang the stockings.
Wall painted in Resene Half Doeskin and console table in Resene Spanish White.
projects Vanessa Nouwens
images Bryce Carleton
Published: 12 Dec 2024
Do you have a home full of wonderful Resene paint and colour? Send us some snaps by emailing editor@habitatbyresene.co.nz.

Resene Canterbury Clay


Resene Canterbury Clay

Resene Half Canterbury Clay


Resene Half Canterbury Clay

Resene Quarter Canterbury Clay


Resene Quarter Canterbury Clay

Resene Spanish White


Resene Spanish White

Resene Spanish Green


Resene Spanish Green
the look
If you're stuck on what
colour to use or need colour
advice, try out the Resene
Ask a Colour Expert service.

Resene Canterbury Clay


Resene Canterbury Clay

Resene Half Canterbury Clay


Resene Half Canterbury Clay

Resene Quarter Canterbury Clay


Resene Quarter Canterbury Clay

Resene Spanish White


Resene Spanish White

Resene Spanish Green


Resene Spanish Green
the look
If you're stuck on what
colour to use or need colour
advice, try out the Resene
Ask a Colour Expert service.


 look book


