A spot-on way to count: DIY math lady bugs
20 Nov 2024
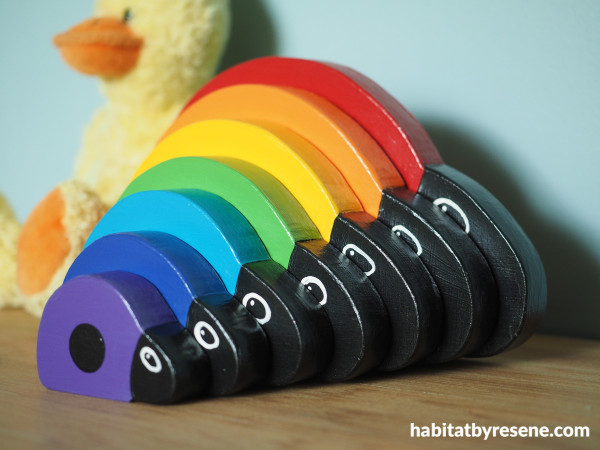
Turn scraps of wood into a fun and educational toy with this DIY! Perfect for little hands, these adorable ladybugs help young learners practice counting in a colourful and creative way. Not only will they bring a pop of colour to playtime, but they’re also an engaging tool for early learning. Get the kids involved in painting and choosing their favourite testpot colours too!
You will need:
- Scrap untreated pine wood, 18mm thick
- Pencil
- Jig saw or band saw
- Sandpaper
- Paintbrush
- Resene Quick Dry
- Small craft paintbrush
- Resene Aquaclear satin
- Resene testpot paints in your favourite bright colours. Fleur used Resene Blue Diamond, Resene Deep Koamaru, Resene Optimist, Resene Bilbao, Resene Buttercup, Resene Chilean Fire, Resene Red Berry, Resene Black and Resene Rice Cake

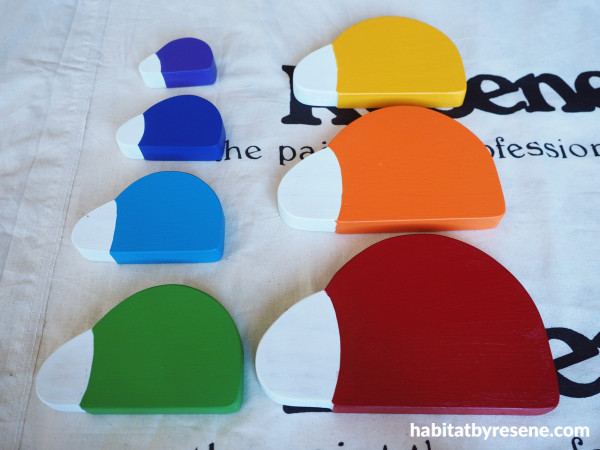
Step 1: Start by using a pencil to draw a simplified shape of a ladybug on to the wood. Draw on seven shapes, each one bigger than the last – the height of Fleur’s shapes are 4cm, 5.3cm, 6.6cm, 7.9cm, 9.2cm, 10.5cm and 11.8cm. Use a jig saw or band saw to cut the shapes out and then use sandpaper to sand any rough edges smooth.

Step 2: Prime the ladybugs with one coat of Resene Quick Dry. Once the primer is dry, paint the bodies of the bugs with two coats of your chosen colours. Fleur used (from small to large) Resene Blue Diamond,Resene Deep Koamaru,Resene Optimist,Resene Bilbao,ReseneButtercup,Resene Chilean Fire andResene Red Berry.

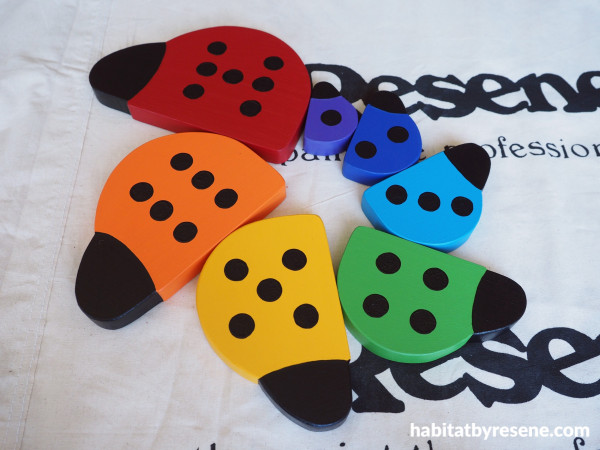
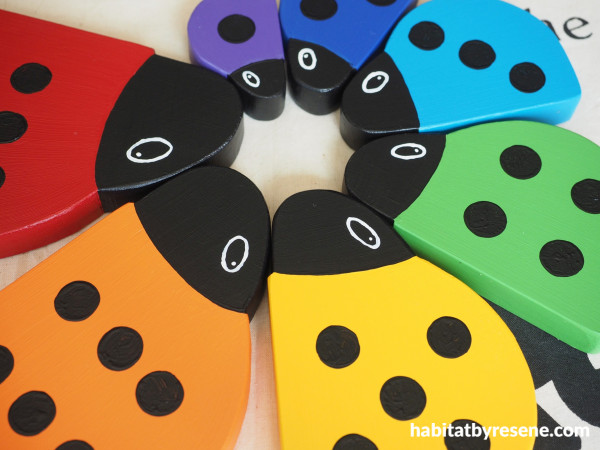
Step 3: Use Resene Black to paint on the counting dots for each of the bugs. Try dipping the bottom end of a permanent marker pen into the paint and then dabbing it on to the bug to get a nice, round dot. Use a small craft paintbrush to paint in the dots. Repeat on the other side of the ladybug. Use more Resene Black to paint in the head.

Step 4: Paint on the eyes with some Resene Rice Cake.

Step 5: Finish by applying one coat of Resene Aquaclear satin.
Wall painted in Resene Destiny.
project and images Fleur Thorpe
Published: 20 Nov 2024


 look book